Tips to help you produce professional product shots on a shoestring budget.
Your guide to taking professional-looking product photos:
Types of product photography
Tips to get started
Creating a DIY photography studio setup
How to light your product photography
DIY product photography tips anyone can use
Humans process visuals faster than words, which is why product photography plays such a vital role in online retail sales.
“People look first and read second,” says Tess Robinson of branding agency Smack Bang Designs. “Visuals are processed by the brain 60,000 times faster than text, so imagery is a big part of what enables your audience to relate to and recall your brand.”
That means that any photography featuring your brand – from simple e‑commerce photos showing products against a plain background, to more highly produced lifestyle imagery – is critical to capturing customers’ attention and convincing them to buy your products.
Ashley Ashcroft and Jessica Morley of London-based florist Stix & Stems understand the financial value of product photography. “Putting effort into product photography makes sense – you’re showcasing your goods. A captivating image could be the difference between good and bad sales.”
"A captivating image could be the difference between good and bad sales."
Types of DIY product photography
There are many different styles of product photography, and it’s important to determine which types you need. Here are nine of the most common.
1. Individual product shots
Product shot courtesy of Sir Dogwood and See Scout Sleep
What: Simple images shot on a plain background
Used: On product pages, and wholesaler sites like Amazon
Purpose: To show products as realistically as possible
2. Group product shots
Group product shot supplied by Esmi Mineral Skincare and EveryDay Co.
What: A showcase of several products together
Used: As secondary shots on product pages
Purpose: Helpful for displaying products that come in different variations (think: a mug that comes in ten colors)
3. Lifestyle product shots
Lifestyle shot supplied by Somewhere Co.
What: Your products shot in situ or an aspirational setting
Used: On social media, homepages and as secondary shots on product pages
Purpose: To show customers what their life could look like with your product in it.
4. Scale product shots
What: Your product shot next to others
Used: On product pages
Purpose: To show the size or scale of your product compared to others (for example, different sized handbags)
5. Detail product shots
What: Close-up shots of product details
Used: On product pages
Purpose: Useful for items with tiny features such as jewelry or to help customers see critical details
6. Pack shots
Packaging shot supplied by Everyday Co.
What: Shots of packaging
Used: On product pages or in lifestyle shots on social media or online
Purpose: If you’ve invested in incredible branded packaging, why not show it off? Also helps customers to know what to expect when they receive your product in the mail.
7. Process shots
What: Shots of your product being created
Used: On social media, online and on product pages
Purpose: To highlight the artistry that’s gone into your products. For example, a jeweler making a ring.
8. Model shots
What: Photos of models wearing or using your product (can be in studio or in a lifestyle setting)
Used: On product pages
Purpose: To show what your products look like when worn. (Remember: Photography involving models is more expensive because it includes hair, makeup and styling.)
9. Ghost mannequin or flat lay product photography
What: Photos of models wearing your product (can be in studio or in a lifestyle setting)
Used: On product pages
Purpose: To show what your products look like when worn. (Remember: photography involving models is more expensive because it includes hair, make-up and styling.)
Start all DIY product photography with a strategy
First thing’s first. Robinson recommends getting clear on what you want to achieve well before you start shooting.
“Identify what makes [your brand] unique, and then double down on it,” she says. Once you're set on a direction, consider how many assets you need to produce. Are you in need of new snaps for Instagram? Or do you just want to refresh the product shots on your website? Write down a shot list so nothing gets missed.
“Always produce more than you need, then cull anything that doesn’t feel consistent,” she adds.
Why consistency counts
Every image – across all brand touchpoints – should have a cohesive look and feel. That means using the same color background and lighting for your product shots, for example. “Projecting a curated image is paramount to creating a brand with longevity,” says Robinson.
Take note of the style you’ve created – the colors used, brightness and darkness and level of detail – and stick with it.
Ashcroft and Morley use repetition, too: “We repeat locations, color schemes and filters,” explains Morley.
Remy Gerega is the owner of YogaEverywhere, which sells yoga accessories and towels. He is also a photographer by trade and shoots his own product photography and lifestyle imagery.
His top tip for DIY product photography? Create a mood board.
“Source inspiration images then pull together a storyboard," says Gerega. "Print it out and refine it until the selection feels aligned with your vision. It’ll ensure that what you end up with all works together because you’ve already gone to the trouble of looking at it as a whole.”
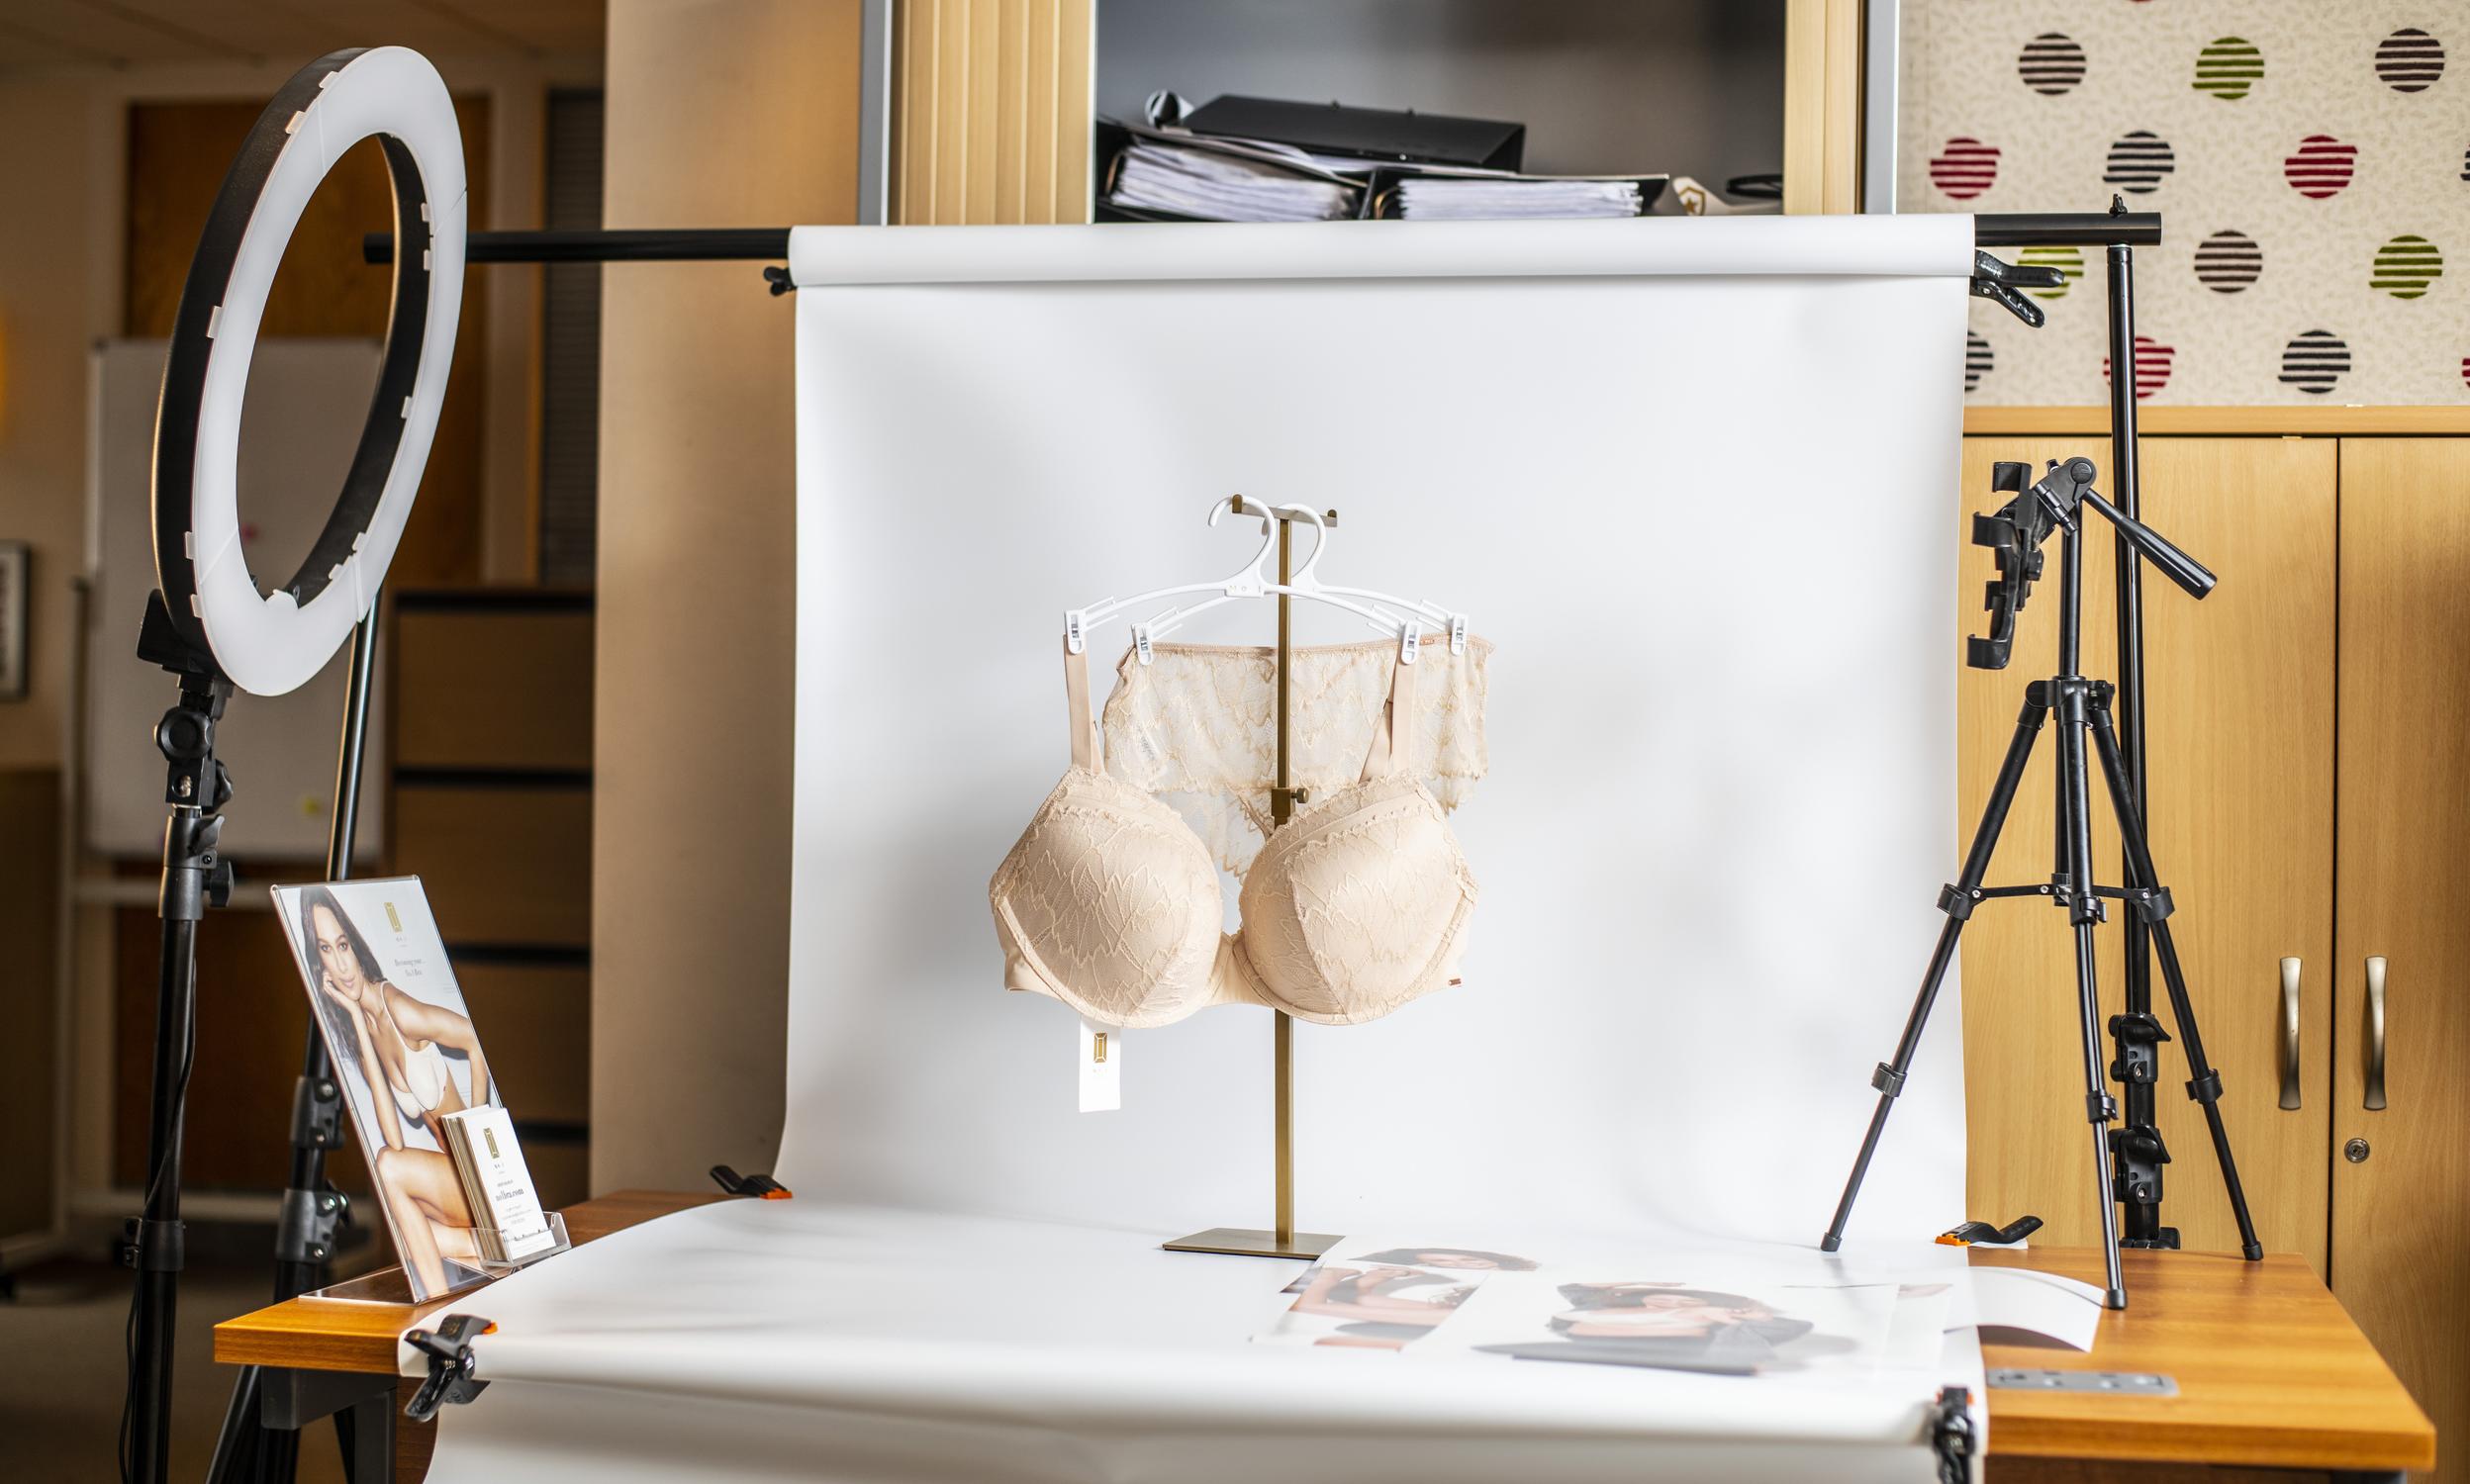
How to set up a mini DIY product photography studio
Once you know the type of products you want to shoot and the overall aesthetic, it’s time to look at creating your own DIY product photography studio.
Not sure how to go about recreating a professional setup at home or in the office?
Professional photographer Sevak Babakhani says most brands do just fine with the basics: “You don’t need a fancy studio to get a good result – most brands will be OK with a few pieces of equipment.”
Digital camera
If you’re just starting out or on a lean budget, it’s possible to shoot DIY product photography with a smartphone.
However, if your budget can stretch far enough, invest in a digital camera. If not, a cost-effective alternative is to rent one.
“A good camera will improve your shots, particularly when it comes to clarity,” says Gerega. “It makes lighting easier, too – there’s less room for error.”
Tripod
There are lots of affordable tripods available online (Amazon is a good place to look). An essential for crisp-looking photos, tripods allow you to use a slow shutter speed for sharpness and detail, which adds a professional finish to your captures.
If you’re opting to shoot on your smartphone, you’ll need to invest in an additional mount that fits the tripod and your specific phone to hold it steadily in place.
A background
For most brands, sturdy white or light-colored paper or cardboard will do. “You want something smooth for consistency – an obvious texture could become an issue if you’re shooting products of different sizes because of the scale,” says Babakhani.
A smooth backdrop also makes it easier to remove unwanted objects when retouching photos.
Remember that anything shiny – such as an acrylic or plastic background – will cast a shadow.
A shooting table
Together with your background, a table or shooting surface will form the bones of your DIY product photography studio. If you’re shooting regularly, consider leaving your studio set up for ease.
Ashcroft and Morley snap fresh blooms every day, so this approach works for them. “We’ve created a space where we take pics of our products day-to-day.”
Position the table flush to the wall and tape your paper roll (or ‘sweep’) to the wall for a seamless backdrop.
For larger products, you might need a C-stand (a versatile piece of equipment used to hold and position all sorts of things including backdrops and lights) to position the backdrop high enough to fit everything in.
These are available for rent or you can create your own with a microphone stand with this tutorial.
A softbox and/or LED attachment
A softbox – also known as a lightbox or light tent – is a wireframe box with translucent walls and, often, an built-in LED light.
The walls help evenly distribute light around the product, and as a result softboxes act like an all-in-one photographic setup. They can be particularly useful for shooting small items like jewelry or baseball caps.
The best way to produce bright light is with LED,” explains Babakhani. “A softbox is key for diffusing harsh lighting and creating softer shadows – it also reduces shiny spots for a professional finish.”
Don’t have the budget for a softbox? Make your own. You can find instructions for making these on YouTube with plastic containers and white paper.
A white bounce card
You can buy these professionally, but a flat piece of cardboard will do. If you don’t have multiple lights use a bounce card to reflect your light source back onto the subject from the side for softer shadows.
Editing software
Even top photographers use editing software to perfect their images – and if you’re a beginner, it’s likely that you’ll need to learn the basics of editing images.
Adobe Photoshop is the program used by many pros, but if you’re on a lean budget, it can be expensive. Canva is an affordable alternative, as many features are free. Snapseed is another popular option.
Some programs and online services even do the heavy lifting for you. Pixelz uses AI technology to do everything from background removal to high-end retouching with subscriptions starting at $95 a month, while Deepetch offers quick turnarounds for last-minute jobs. Babakhani is a fan of Pixelcut, an image-editing app that offers social media-friendly templates and automatically resizes and formats images for upload. Prices start at $8 per month.
DIY product photography lighting for beginners
Professional photographers spend years learning how to harness and manipulate light, and lighting is a complex subject. That said, if you follow a few simple rules, you can produce crisp, impactful photographs.
1. Expose your images correctly
It may seem obvious, but it’s important that your photographs aren’t too light or too dark – especially in e-commerce where customers are relying on photography to provide an accurate depiction of the products they’re considering purchasing.
“Your eye is the best judge – if you think it looks too dark, it probably is,” says Babakhani. “A good exposure will have contrast between highlights and shadows.” You can play around with exposure by adjusting the aperture and shutter speed settings on your camera. Haven’t got a clue how? DSLRs have auto-exposure systems that do it for you.
2. Shoot in a white room
“I either shoot in a white room or put up cheap white foam or poly boards to minimize color cast – this is when certain types of light create an unwanted colour tint on the final image,” says Gerega. “You can also minimize this by adjusting your camera’s white balance – search for ‘how-tos’ for your camera model online.”
3. Use a single light source
“Place your light source at front left or front right and position a bounce card on the opposite side,” says Babakhani. “If you feel like experimenting, move the light higher or lower to achieve pleasing highlights."
4. Switch off the lights
“When using LED lighting, the room you are in should be dark so that other light sources don’t fall on set,” says Babakhani. Shut off overhead lights and lamps and close curtains for more control over your lighting.
5. Experiment in advance
“If you’re still learning, determine what works best for your vision, products and skill level before shoot day,” says Gerega. “Using natural lighting can be a good choice to begin with, but you’ll need to take into consideration the time of day if shooting outdoors – the sun will be either your nemesis or your guardian angel.” (Cloudy or overcast days often provide the best light.)
How to set up your product
It can take a lot of finessing to get the angle, lighting and product positioning the way you want them. Place the product in front of the backdrop and center it. “I’ll always start with the simplest shot I can,” says Babakhani. “Make sure you can see details and that any labels are legible.”
Always start with the simplest shot.
Depending on what you’re shooting, you might also need:
- Mannequins for clothing and accessories
- Hangers for deep-etched clothing shots
- A friend or colleague to feature in lifestyle shots
DIY product photography styling hacks anyone can use
Babakhani says the clients he works with often build up a repertoire of styling tricks with time and experience. “What works for you will depend on your product, but there are a few basic tips that almost always apply.”
1. Use tissue paper as stuffing
Ever wondered how stylists make beauty products packaged in tubs look so generous and inviting? Chances are there are hidden wads of tissue paper adding bulk to the product.
To DIY, scoop out your product with a palette or other flat knife onto a plate, add scrunched up tissue to the empty tub, then pile the product back in over the top. Use the knife to swirl the top for an extra flourish, then carefully clean up the packaging. Tissue paper can also be used to stuff softly structured bags and shoes that need a little help standing up.
2. Invest in eucalyptus oil and poster tack
“Nothing cleans away gunk and glue residue as well as eucalyptus oil,” says Babakhani. A few swipes make short work of greasy marks. When styling a group shot, poster tack allows you to keep floppy items in place.
3. Wear lint-free gloves
“A pair of white lint-free gloves will allow you to handle shiny objects without leaving behind fingerprints,” says Babakhani. They’re especially handy for glass bottles and beauty products, which tend to show up smudges.
4. Add levels to your shots
Professional stylists use props like levels, lifts and acrylic risers to add depth and interest to shots that involve more than one product. A quick Google search will likely reveal suppliers that sell or hire props.
5. Don't overcomplicate things
“If styling doesn’t come naturally to you, keep things simple. Rarely does a clean product shot not work,” says Gerega. “For interest, you could play around with lighting and shadows instead of adding things into frame.”
6. Get crafty
“If you don’t have much of a budget, use what you’ve got,” says Gerega. “A white bedsheet makes an easy backdrop for bigger shots. Chances are you’ve got things around the house or office that will work as props.”
All references to any registered trademarks are the property of their respective owners. Afterpay does not endorse or recommend any one particular supplier and the information provided is for educational purposes only.
Categories